Loading... ## 前言 企鹅助手交流群大量用户不会制作透明头像的图片,这次特地写这个教程给大家,表达不标准的地方请见谅,废话不多说教程开始! ## 准备材料 1.头像一张 2.抠图神手[点击下载][1] 3.上传头像(下文说明方法) ## 第一步 打开我们刚刚下载的[抠图神手][2] 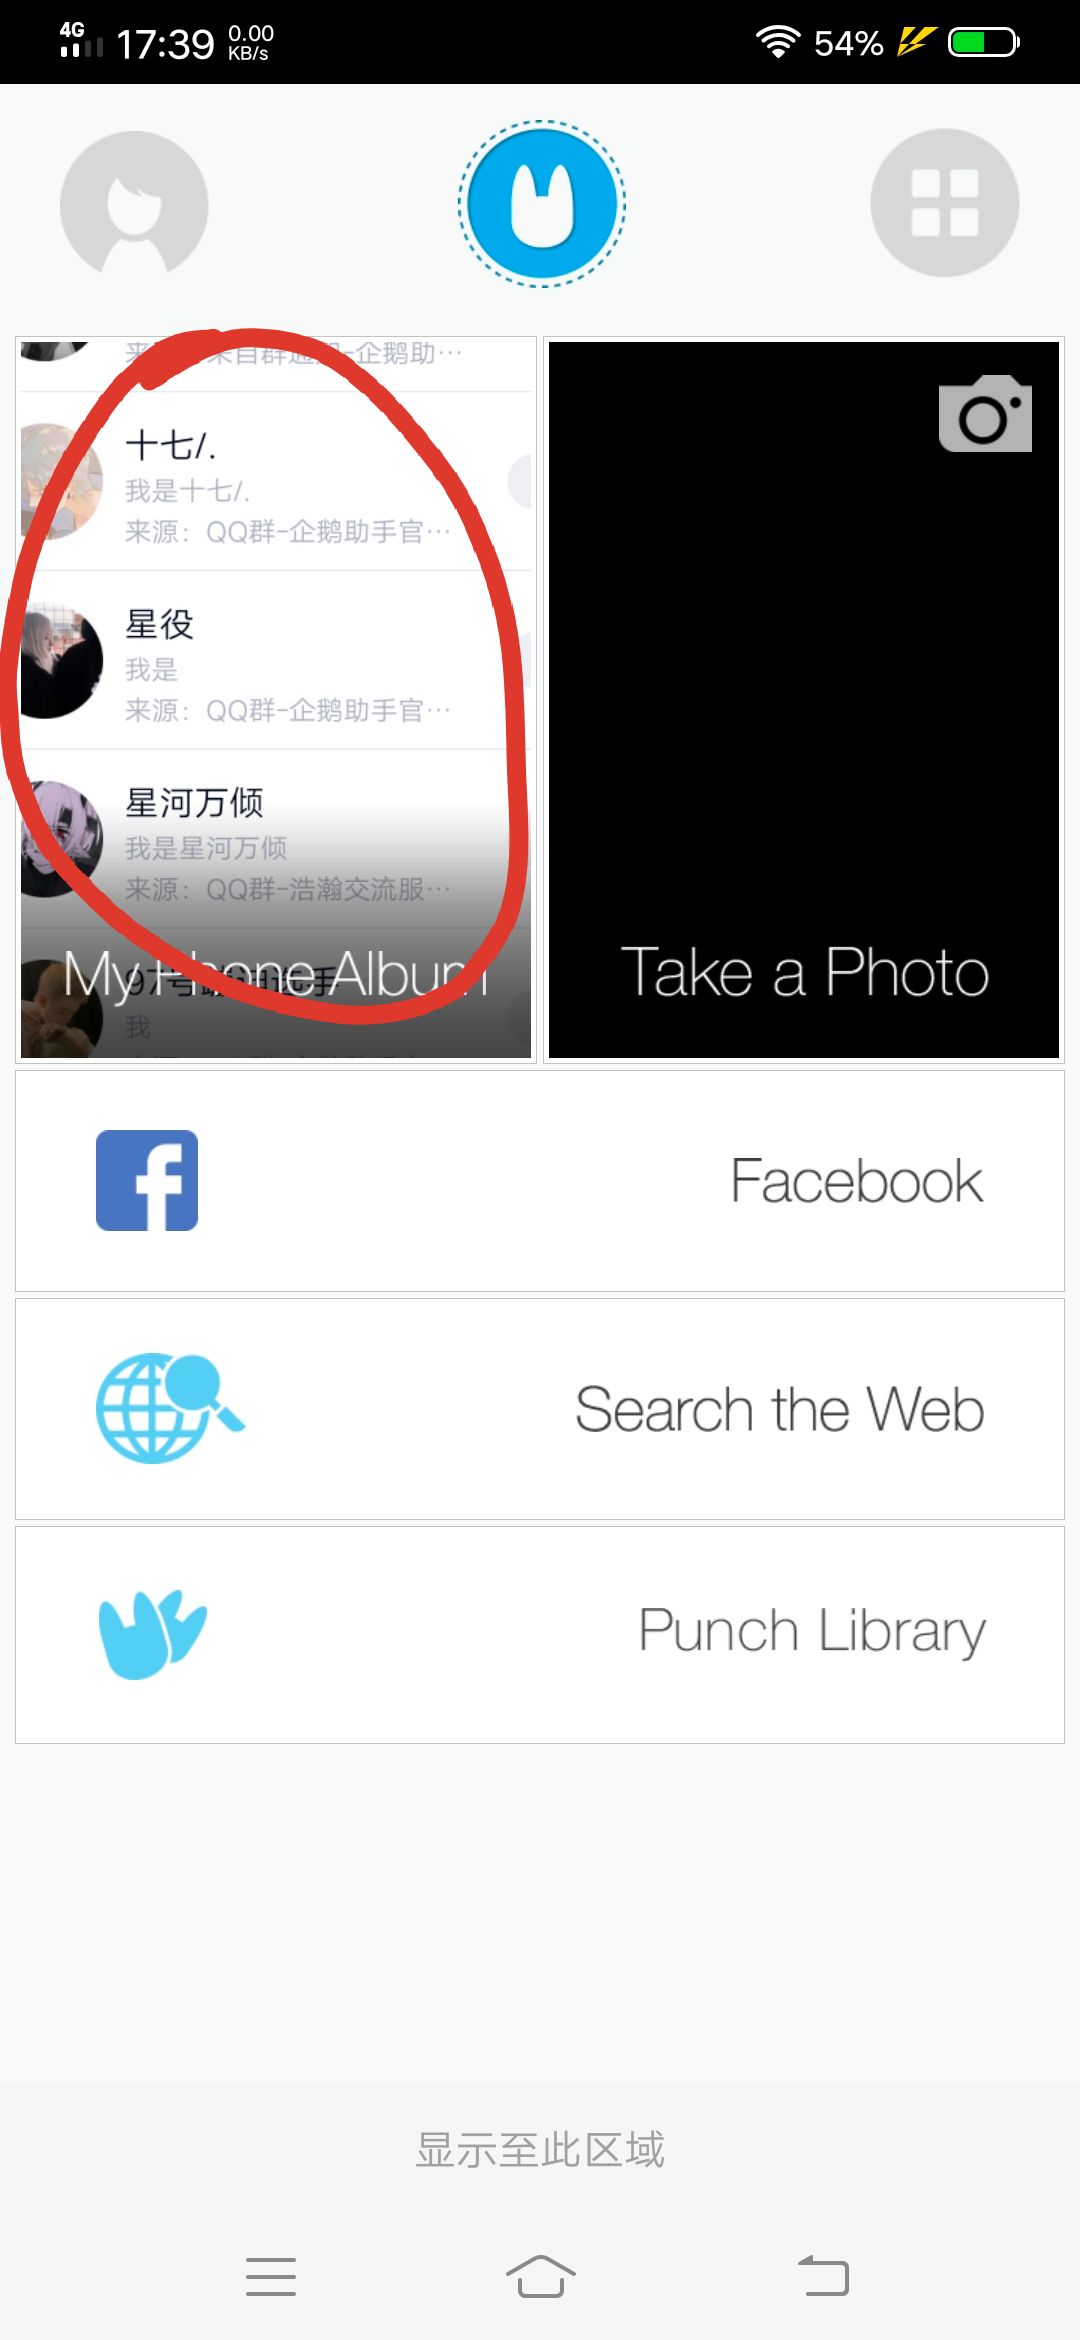 点击红圈⭕内,选择我们需要的头像。  点击红圈⭕内,开始我们的扣图去掉背景。 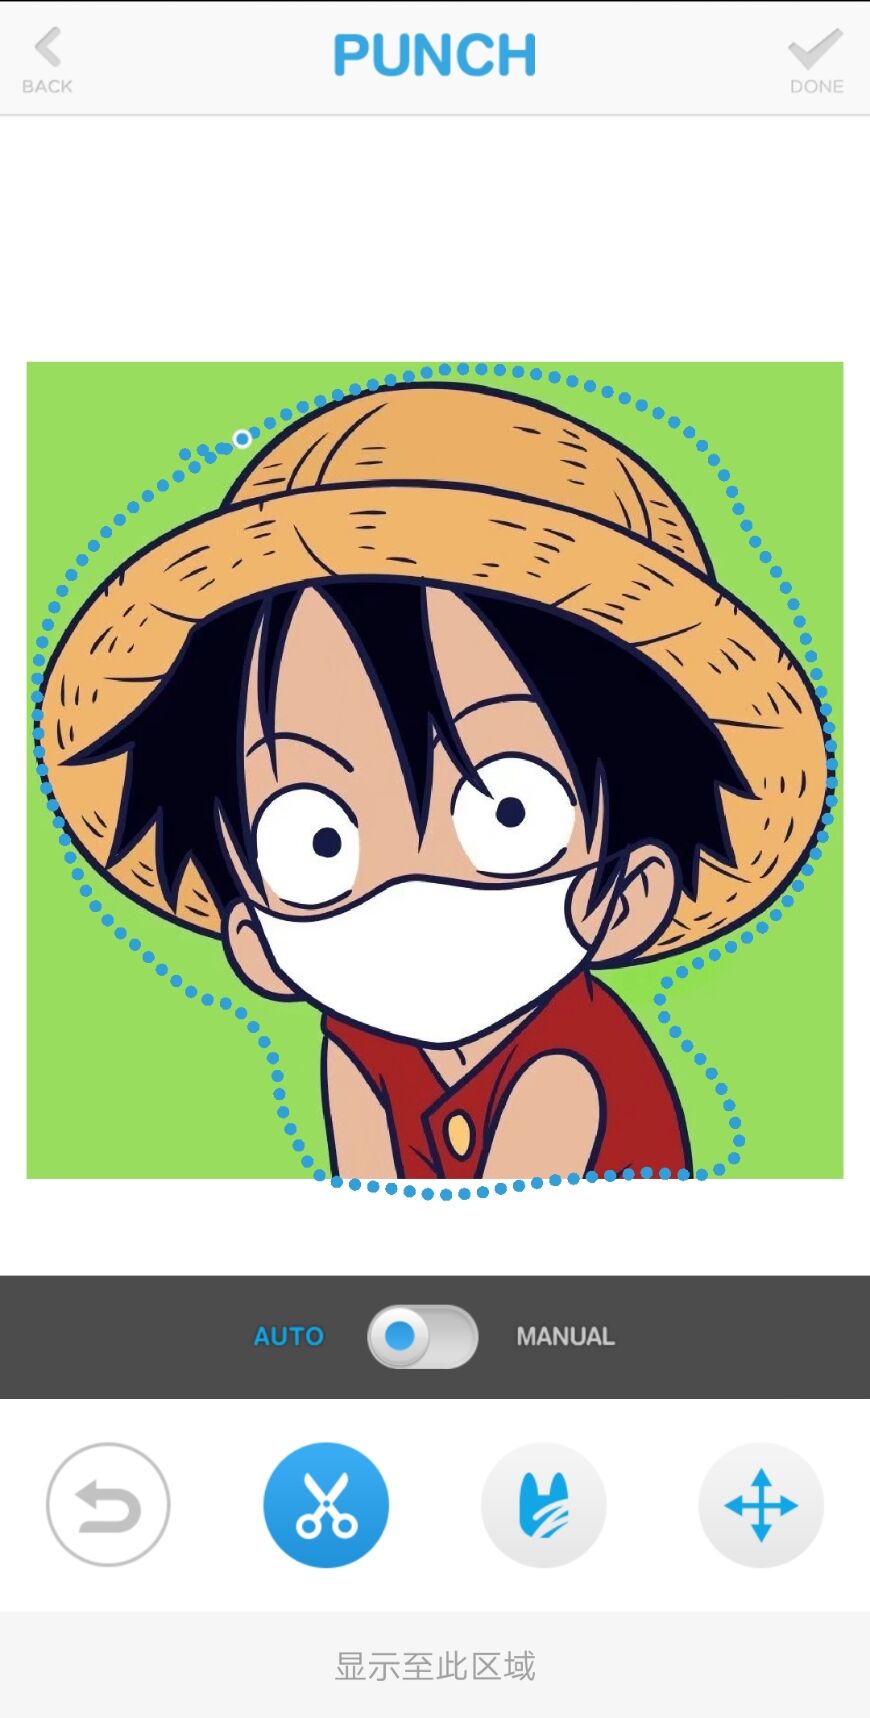 把需要扣的头像给圈出来,软件会自动识别! 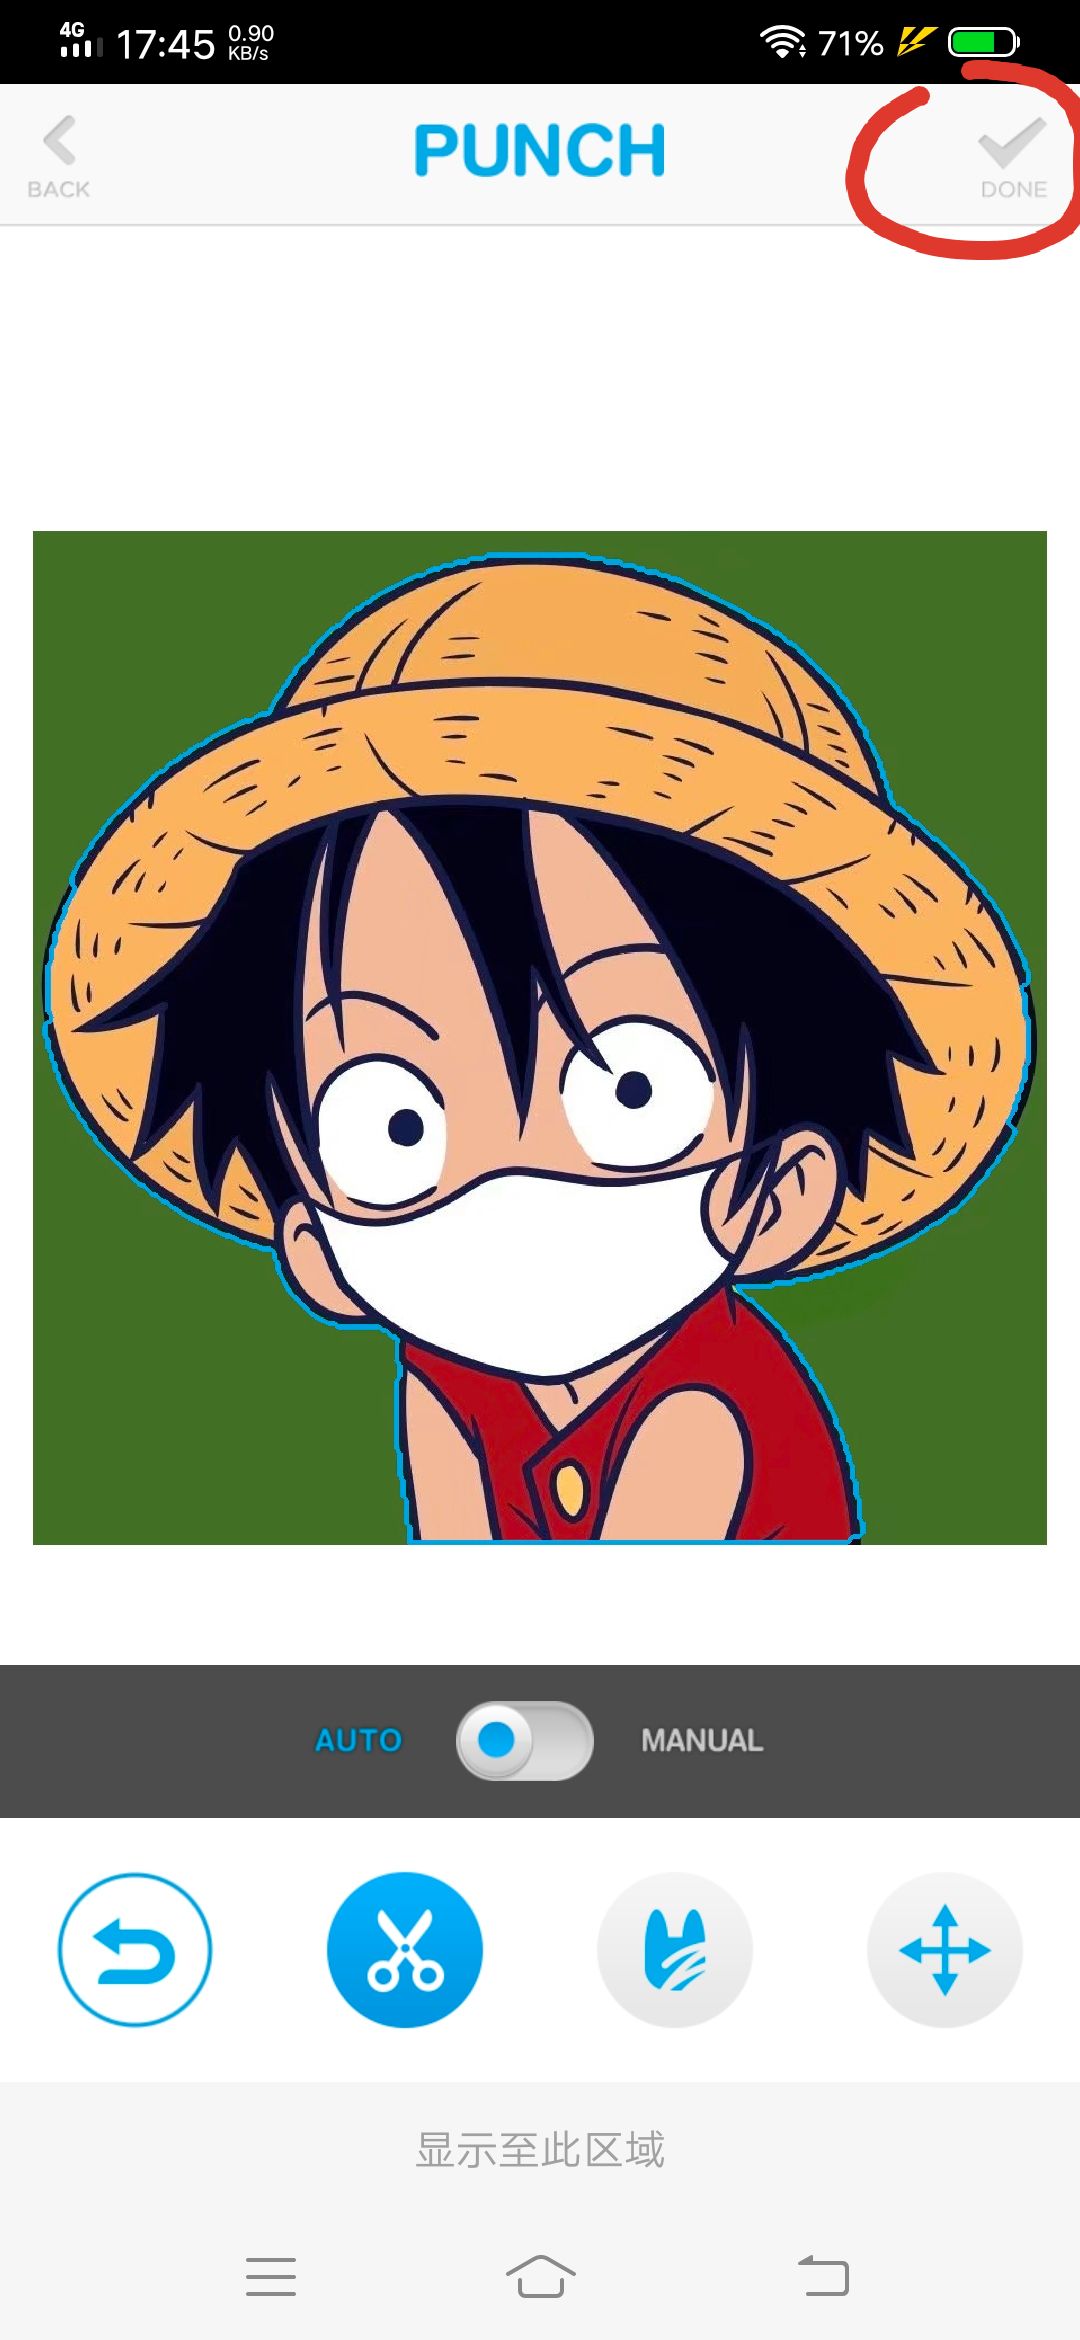 这样就算好了,连续点击两下红圈⭕内的√ 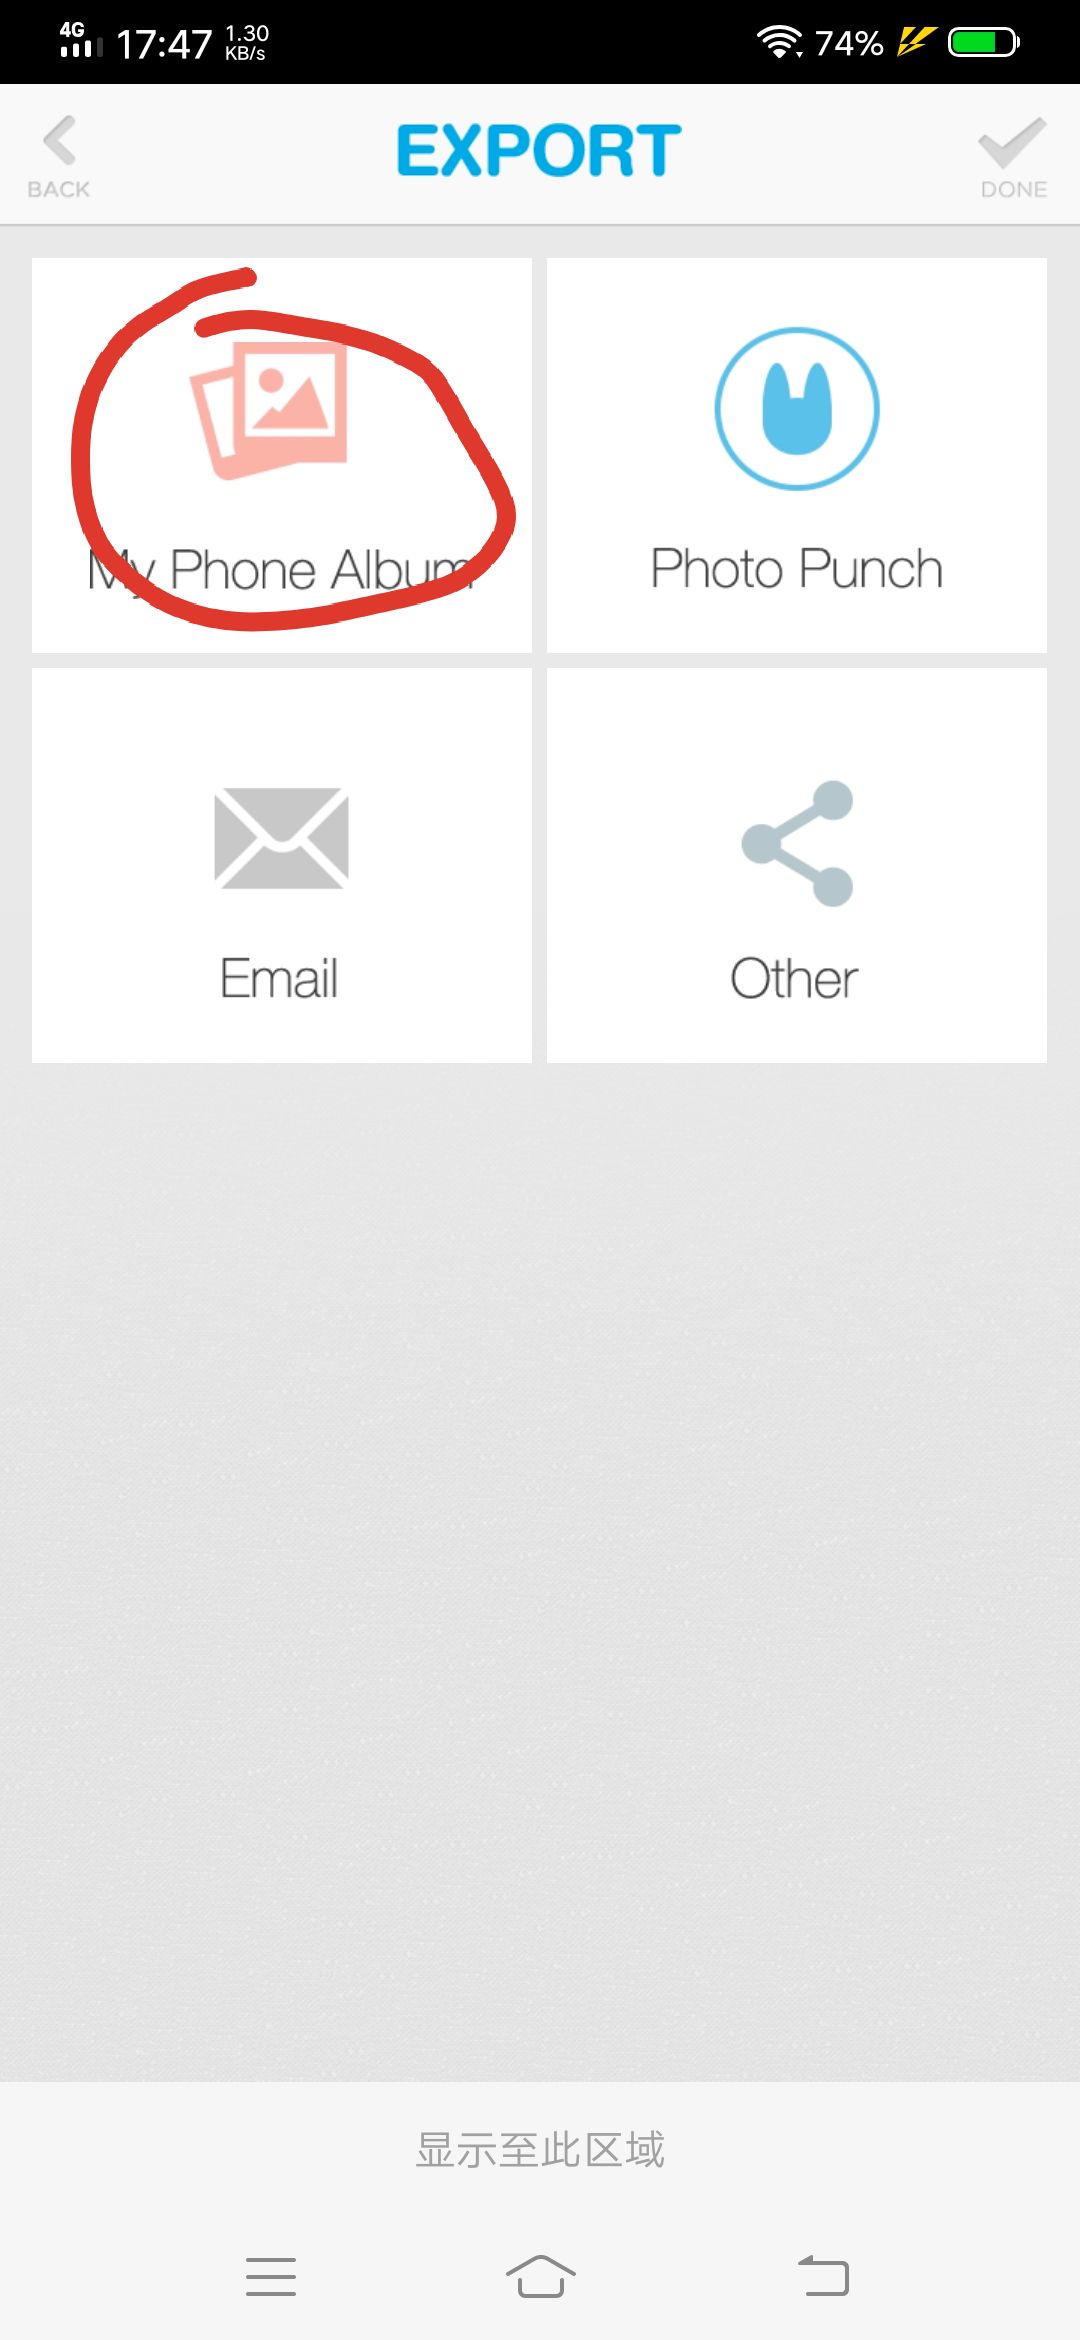 然后点击红圈⭕的My Phone Album,就保存到本地了! 这样头像就算制作完成了,下面我们来上传头像! ## 第二步 **第一种方法**:添加企鹅助手官方机器人为好友!QQ:1157895436,按照下图上传头像,记得发送的一定是原图! 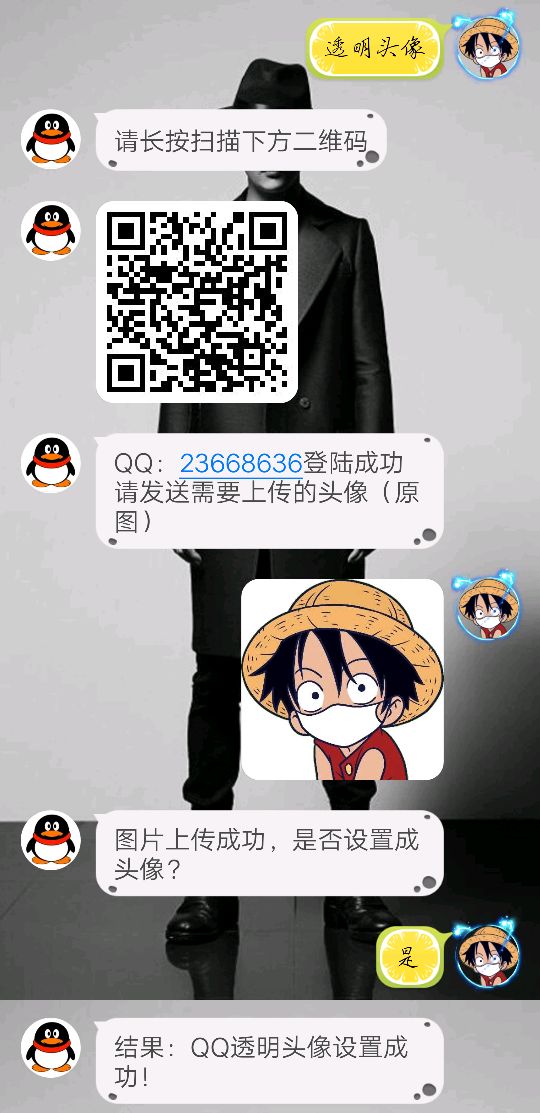**第二种方法:** 下载下方软件,按照软件教程上传 <div class="preview"> <div class="post-inser post box-shadow-wrap-normal"> <a href="https://www.blogbig.cn/archives/tmtxzs.html" target="_blank" class="post_inser_a no-external-link no-underline-link"> <div class="inner-image bg" style="background-image: url(https://image.blogbig.cn/2019/12/29/1577618886.png);background-size: cover;"></div> <div class="inner-content" > <p class="inser-title">QQ透明头像助手</p> <div class="inster-summary text-muted"> 不仅仅可以一键免VIP会员设置最近非常火的半透明头像、全透明头像,还可以设置更多比如正方形头像等各种非常好看,有趣... </div> </div> </a> <!-- .inner-content #####--> </div> <!-- .post-inser ####--> </div> **其他方法:** 当然你自己有工具也一样能上传 [1]: https://www.blogbig.cn/go/14d956bd/ [2]: https://www.blogbig.cn/go/14d956bd/ [3]: https://image.blogbig.cn/2020/02/04/1580809219.jpg [4]: https://image.blogbig.cn/2020/02/04/1580809341.jpg [5]: https://image.blogbig.cn/2020/02/04/1580809483.jpg [6]: https://image.blogbig.cn/2020/02/04/1580809586.jpg [7]: https://image.blogbig.cn/2020/02/04/1580809703.jpg [8]: https://image.blogbig.cn/2020/02/04/1580810029.jpg [9]: https://image.blogbig.cn/2020/02/04/1580810113.jpg 正文到此结束 最后修改:2022 年 02 月 18 日 © 允许规范转载 打赏 赞赏作者 支付宝微信 赞 如果觉得我的文章对你有用,请随意赞赏

